I love my Elegoo Saturn printer, and I especially love those cool time-lapse videos that you see online.
But they have a problem: they are really only designed to work with Canon cameras. And while I do have an old g16 PowerShot camera, I also have a much higher quality Sony ZV-1 that I would like to use for time-lapses.
After a quick look online, I was not able to find anyone who had done the work that I could copy, so I set forward working it out on my own.
Below is the list of equipment I used for my resin printer time lapse cable, theoretically they should all be wired the same.
Adapter
- Shutter Release Cable F2 (Sony, A7, A7R, A7S, A7SII)
- 2× 2.5mm Stereo Line Socket
- Some thin wire mainly to fit through the holes of the sockets
The standard Resin time-lapse adapters work by using an LDR (Light Dependent Resistor). When exposed to light, the LDR lowers the resistance and the camera interprets this effectively as a button being pressed, which closes the circuit.
The camera basically thinks that some hard-working photographer is pressing the shutter release button thousands of times with a couple of seconds in between.
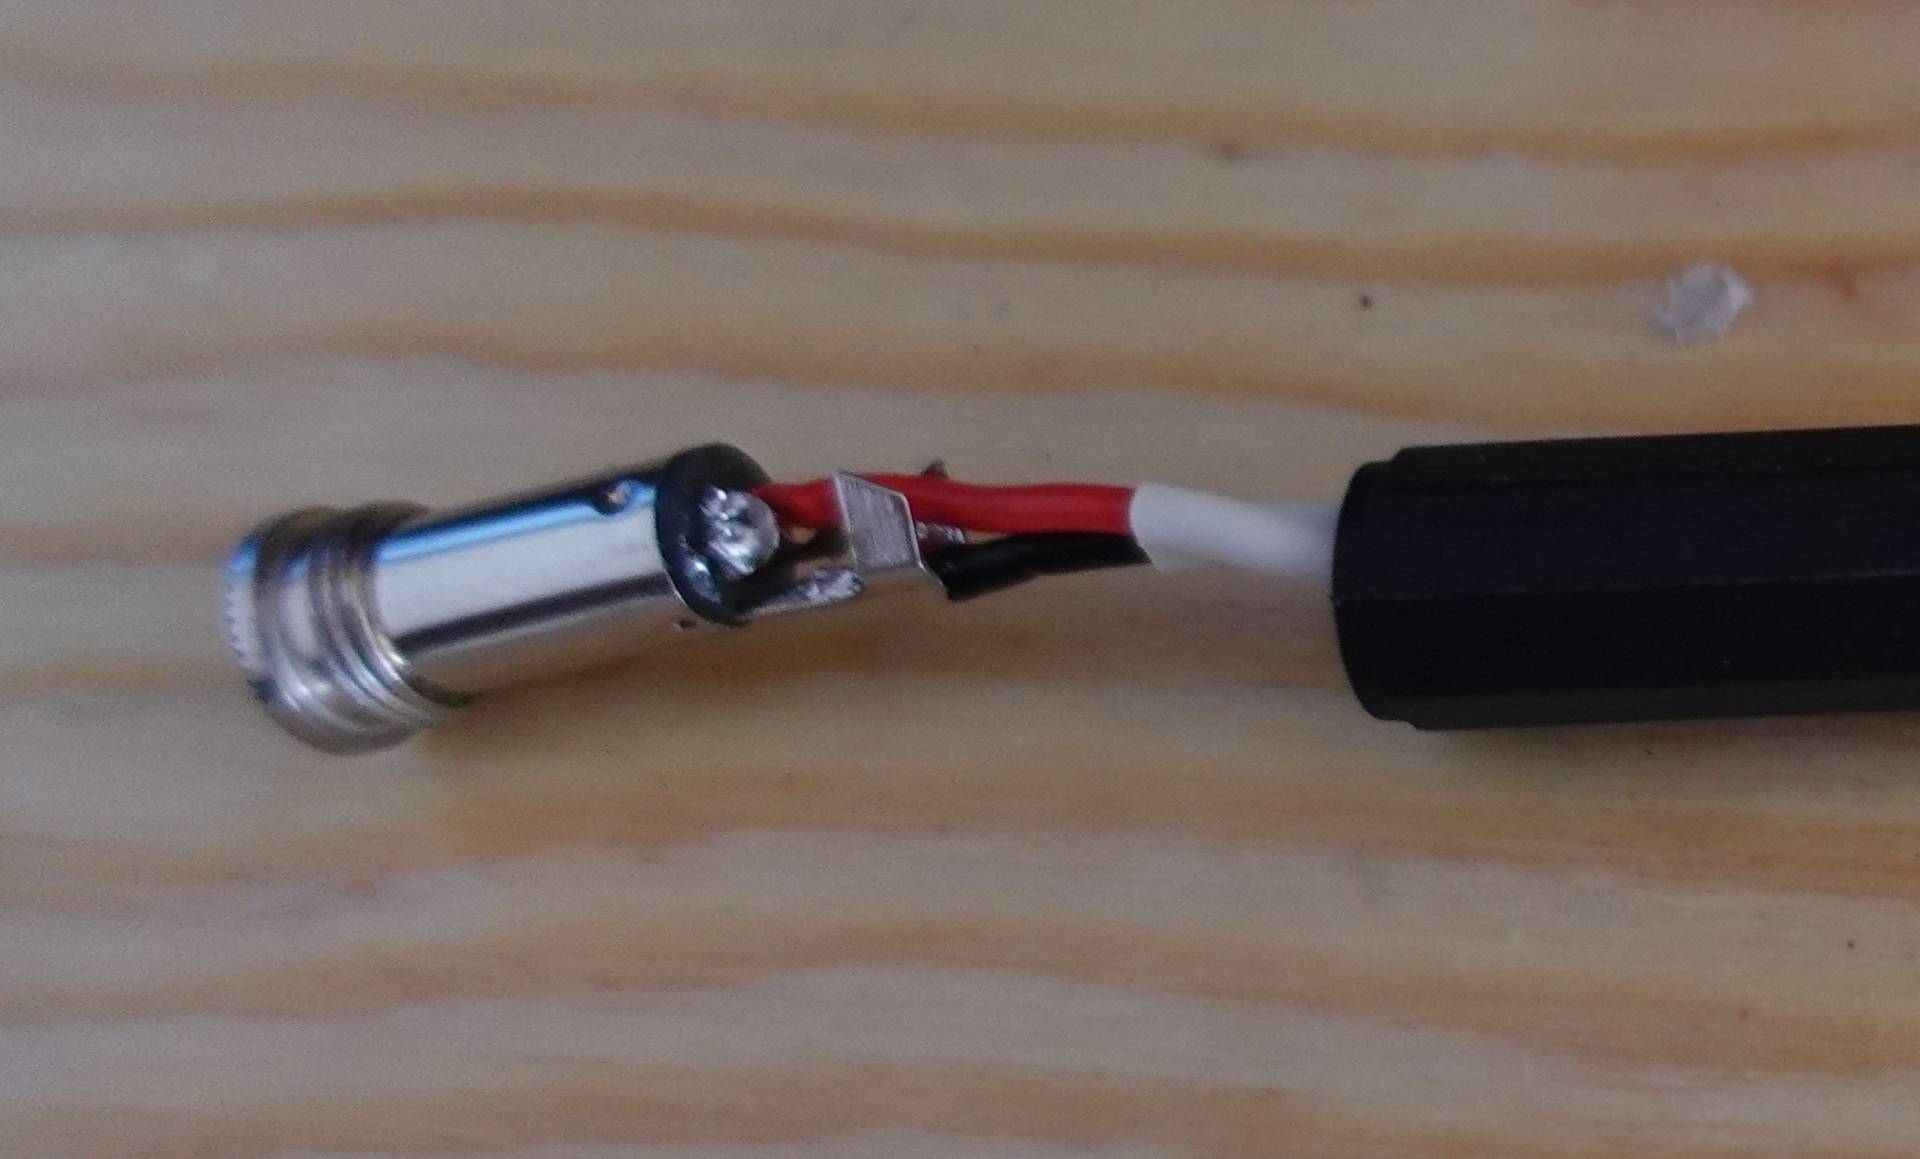
The problem I had is that the plug and the wiring is not compatible with my Sony camera, so to adapt it you take one of the 2.5mm stereo line sockets, and solder wires to the tip and sleeve of the line socket.
You can see I used red and black wire. Red is to the tip, and black is to the sleeve.
This is the end that will receive the already existing time lapse cable:
The shutter release on most cameras will have 3 connectors:
- Ground
- Half press/Autofocus
- Full press/Take photo
In my testing, Canon cameras will just take a photo if the full press is connected to ground, but my Sony camera needed both to be connected to ground for the camera to take a picture, and that is where at this end we will make that happen.
I wired the existing red wire to the sleeve on the 2nd connector and I bridged the tip and sleeve and connected the black wire.
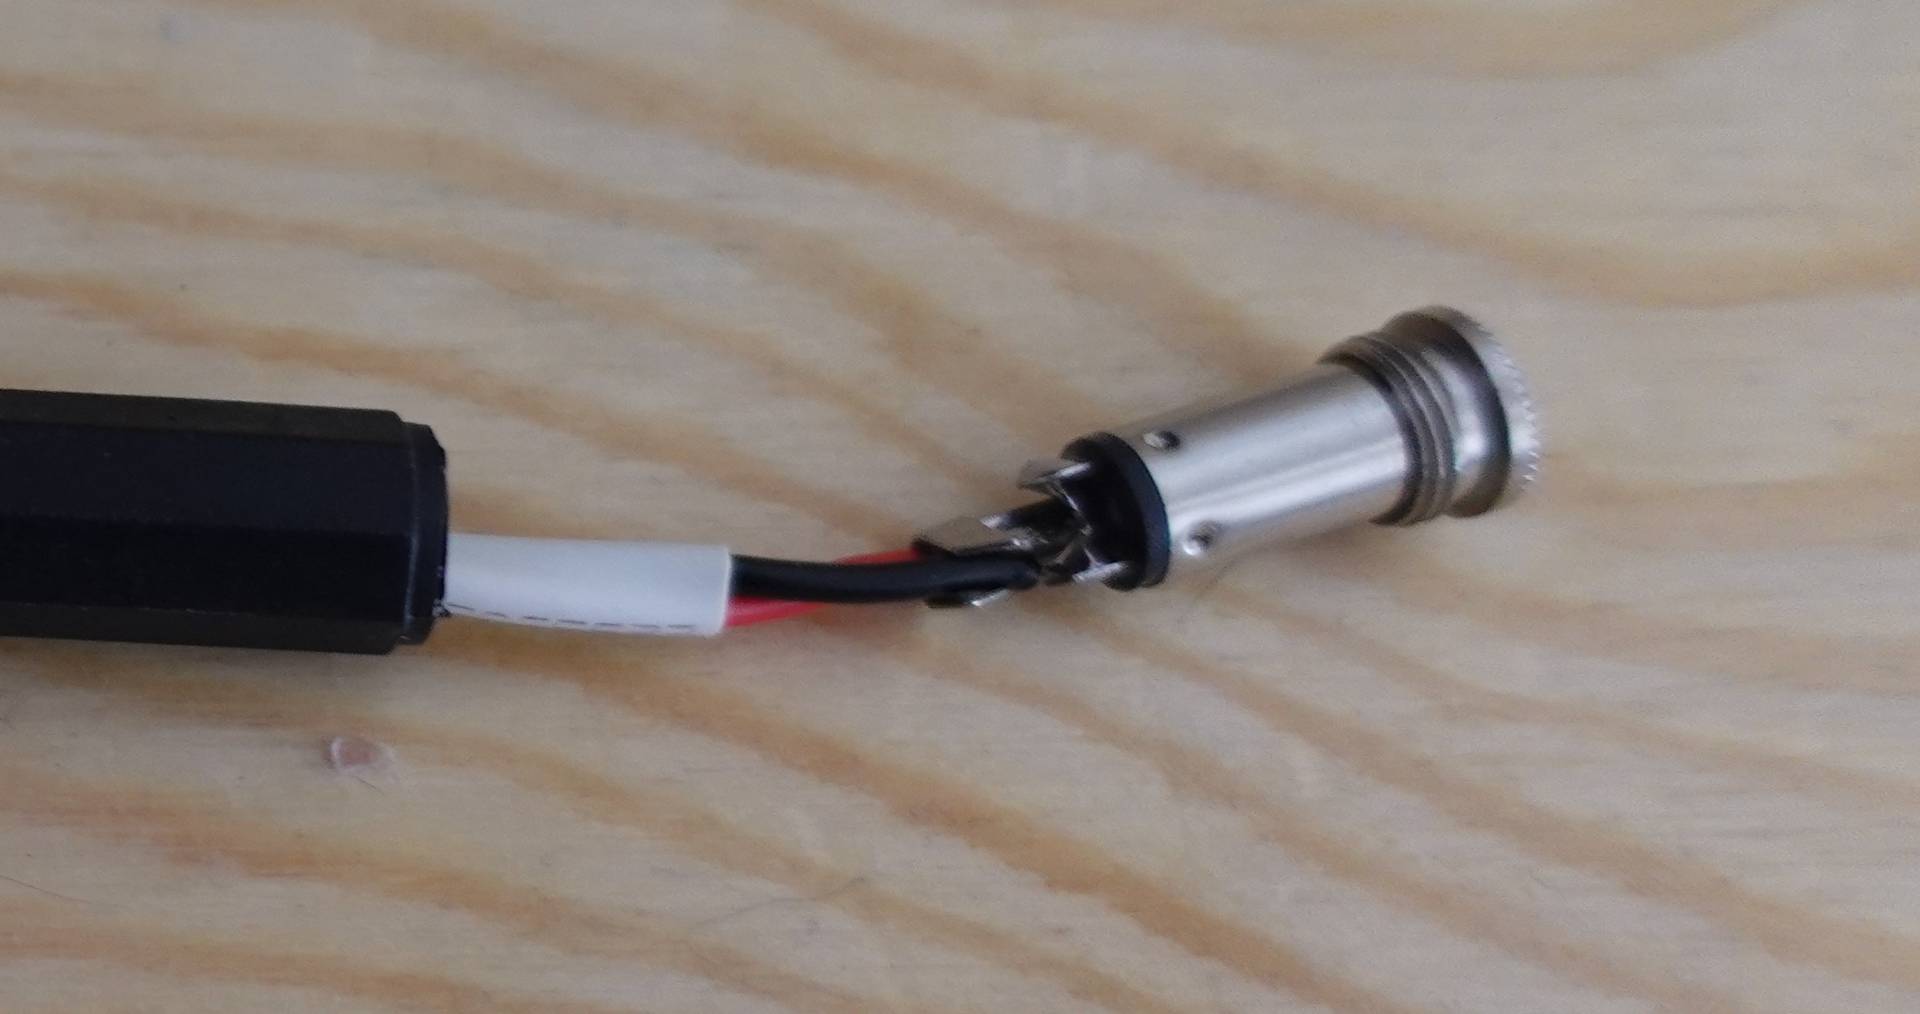
And we are done. Kind of.
In one end, connect your existing timelapse cable, and in the other connect the Sony shutter release adapter.
But during testing, I found that while it worked at my desk using my phone flashlight, it didn’t work on my Saturn, at least in the default position pointed in the back fan grill.
I’m not sure why, but it must be due to the resistance the LDR is creating, and what the ZV-1 is expecting.
Your printer may be bright enough, or camera sensitive enough to work fine. If so, great—you’re done here.
For those like me where this is not the case, it’s time for some modifications to the printer. I can confirm it did work if I point the sensor of the time-lapse cable right at the bed, and just do a quick tank clean or screen test.
I identified the easiest place to open and make modifications to the Elegoo Saturn is the small panel on the right-hand side where the USB port is.
Unscrew the 4 screws and pry the panel off (as it is held on with tape on the inside as well). If you wanted to, you could cut a small groove along the bottom so the sensor is right near the UV light and call it a day.
I went a little further, and added an LDR inside the printer, and a port I can plug my camera into, which is a bit nicer than just taping a cable that sticks into the back fan grill.
Printer modifications & new cable
(I’d use a mono plug, but I didn’t have access to one. We’ll wire it up to act as one)
- 2.5mm Mono audio plug
- A length of cable with 2 separate wires.
I drilled an appropriate hole in the plate that we removed earlier near the bottom. I soldered the Light Dependent Resistor to the “Mono Panel Socket”, leaving on the legs of the LDR to position it as close to the UV light.
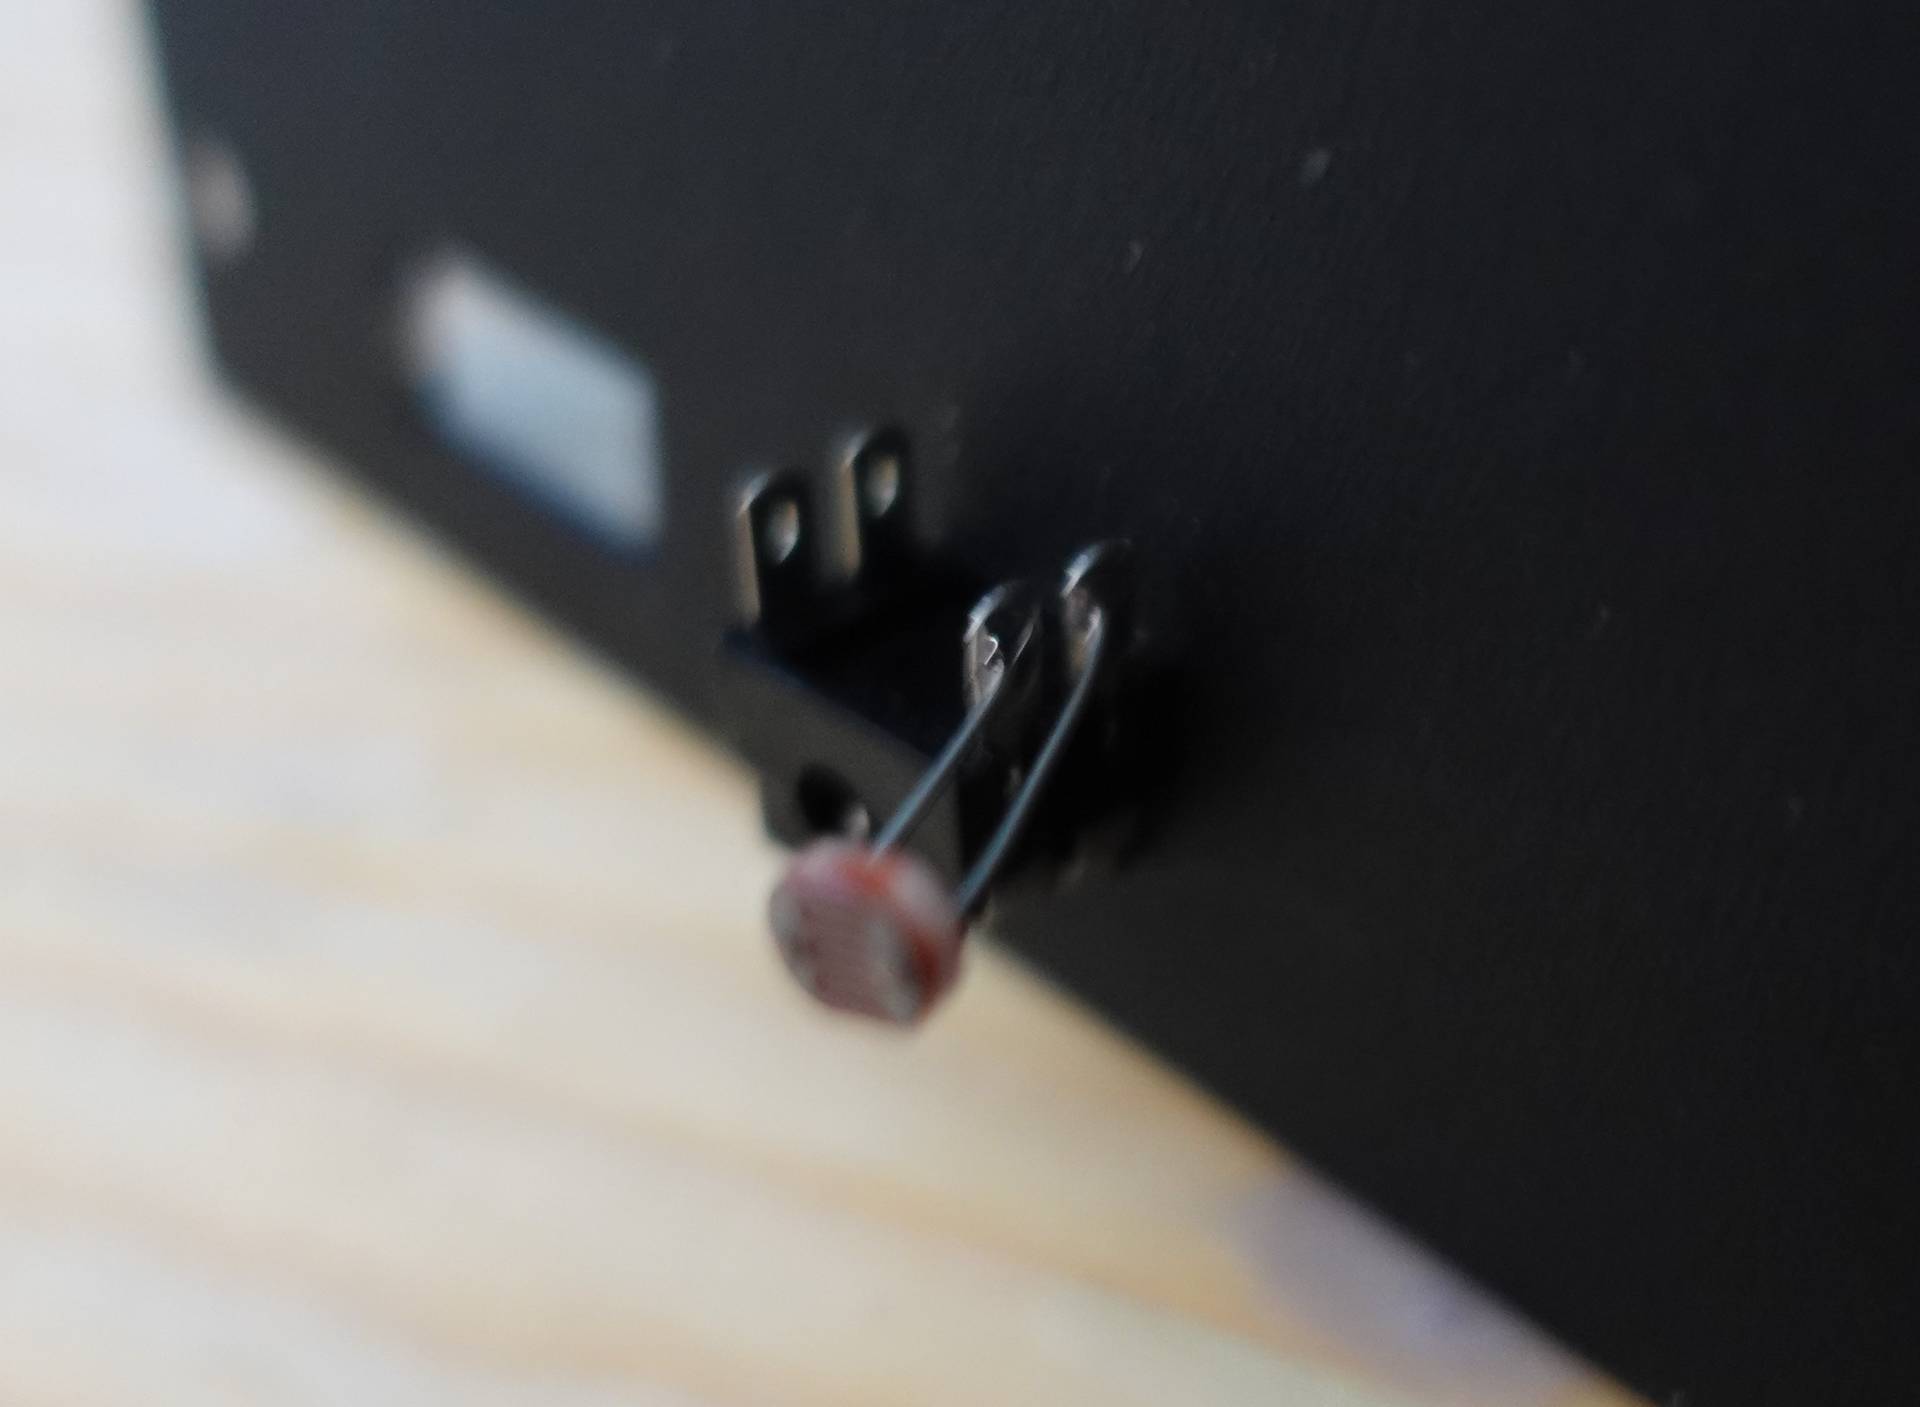
Install the socket into the panel, and reinstall the panel to the printer.
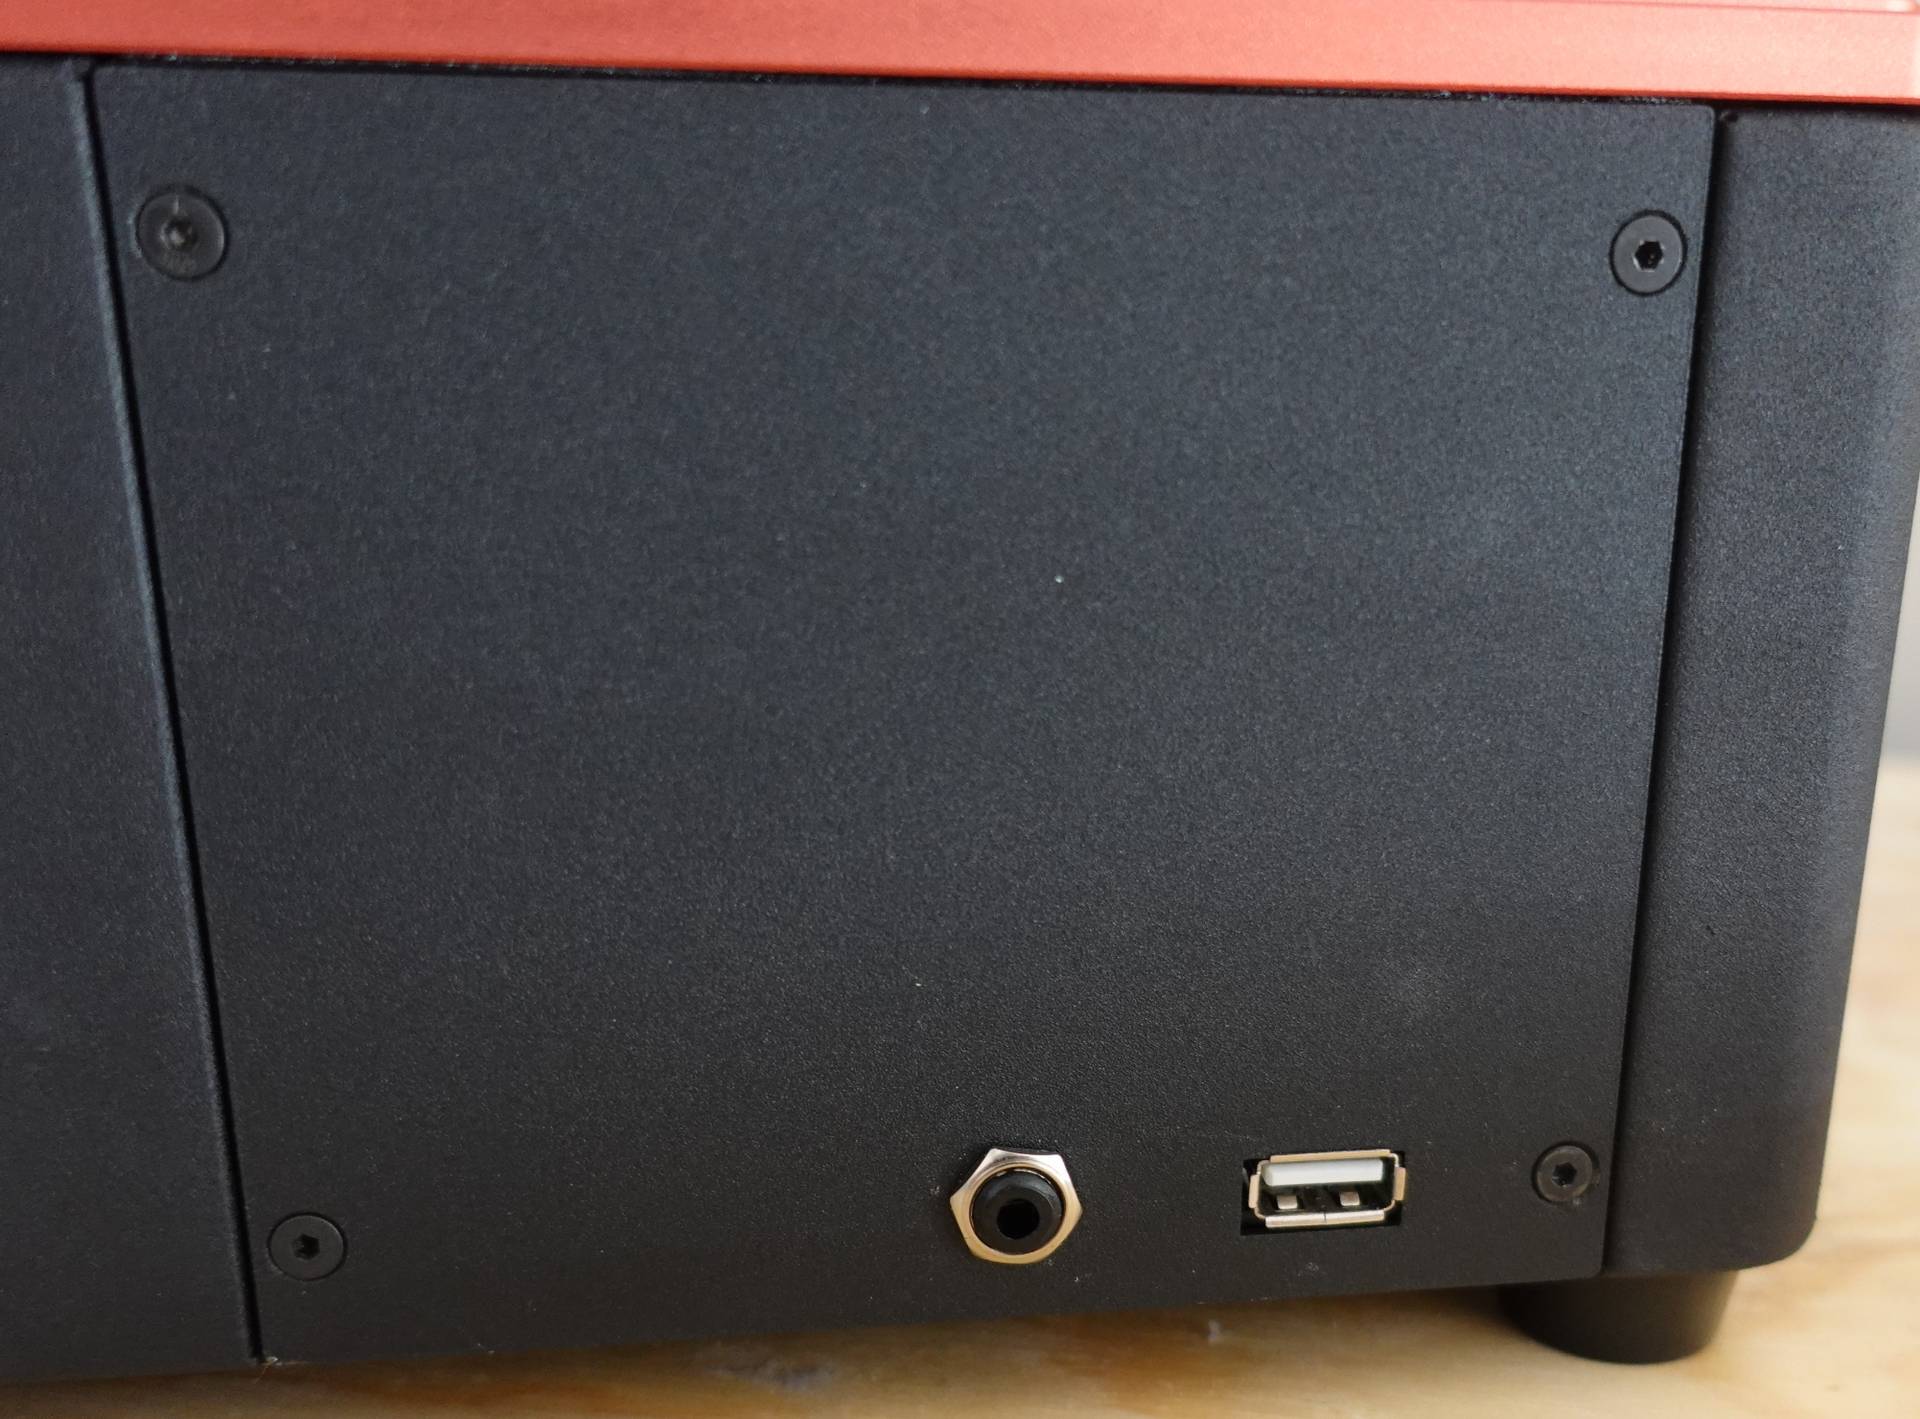
For the new cable, I solder one of the wires to the sleeve and ring pads of the 3.5mm plug and the other wire to the tip pad.
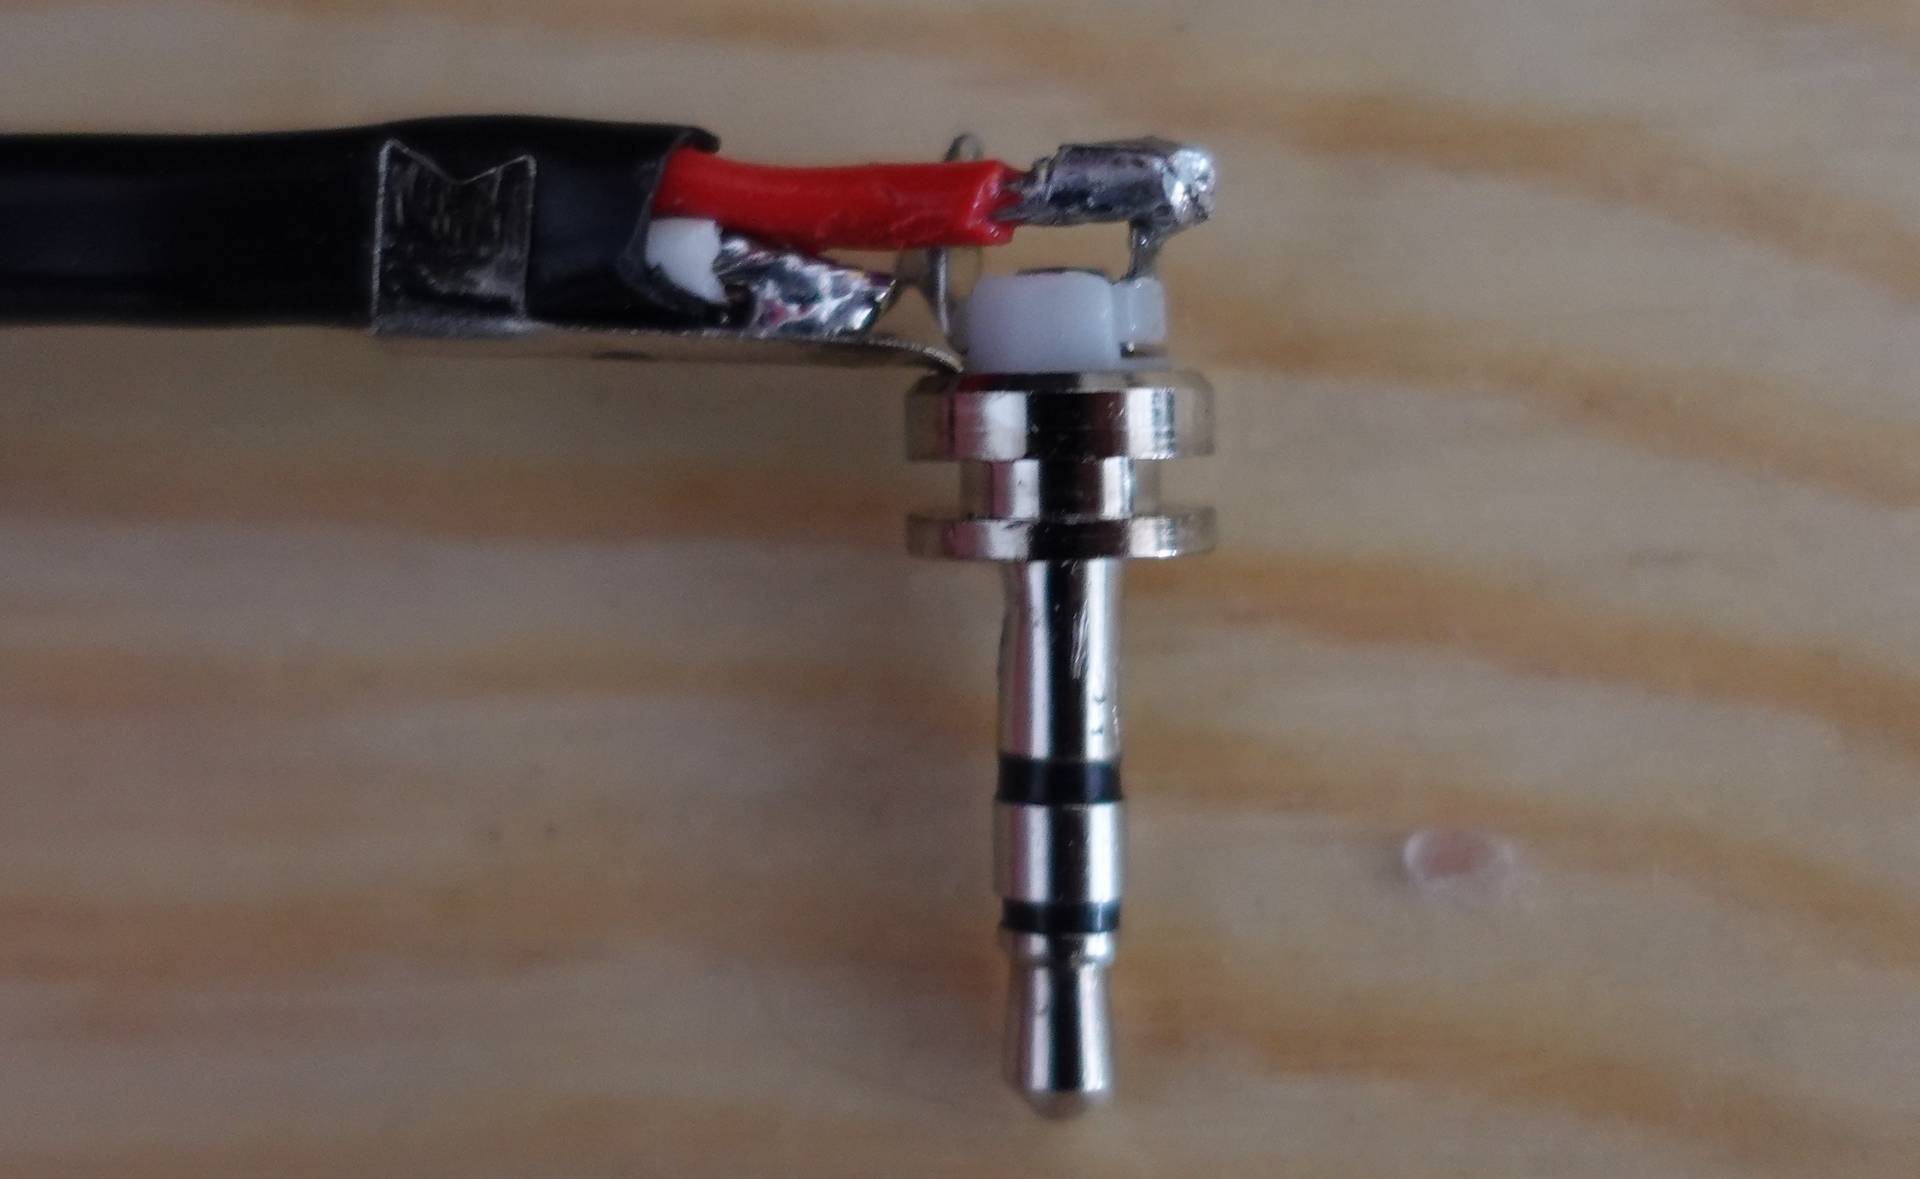
The other end I solder the wires to the similar pad we just did tip to tip, sleeve to sleeve.
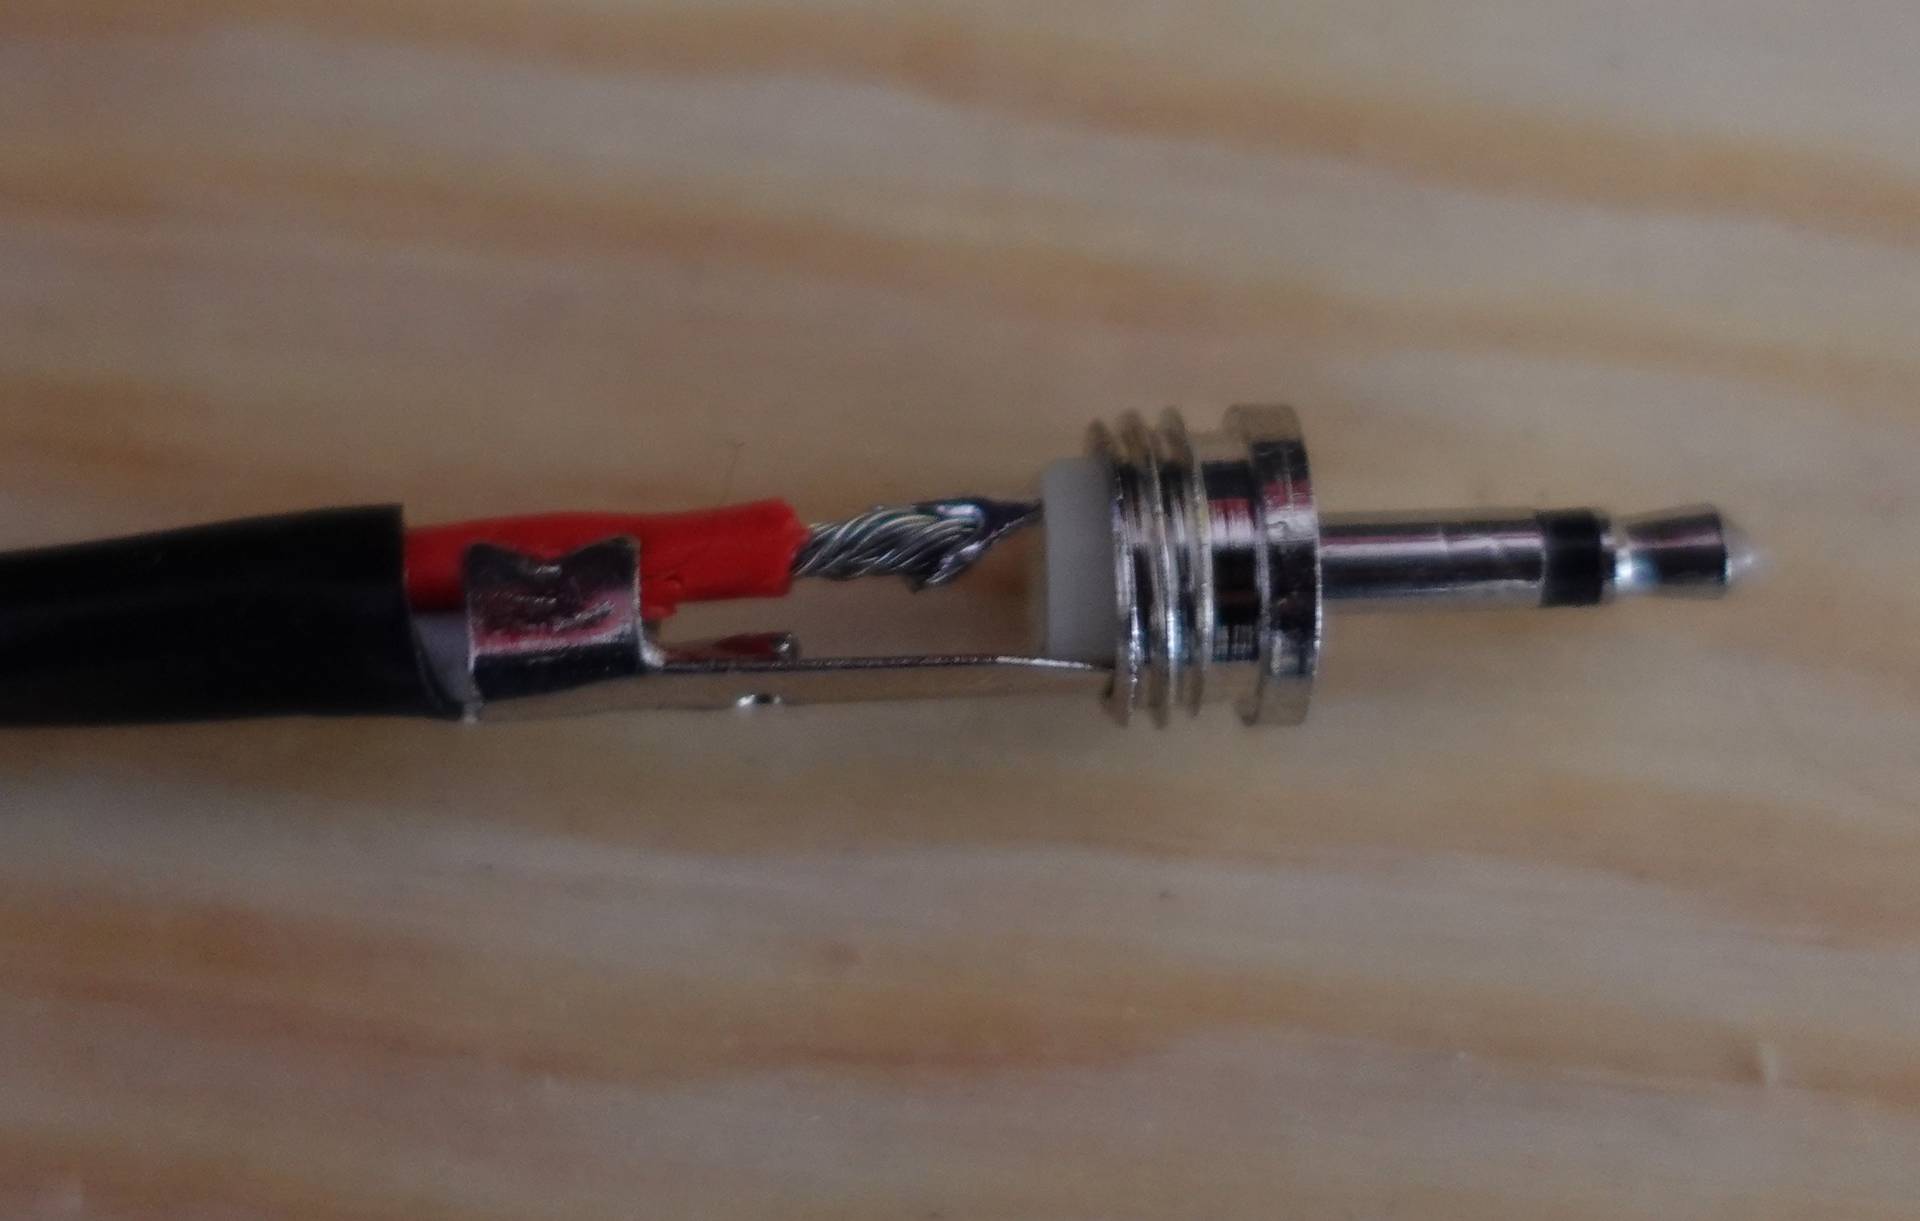
This setup now works, but requires the adapter we made earlier.
I chose to do it this way as it is non/less destructive, depending on if you need to make the modifications to your printer like I did to mine. I can still use a Canon camera, or in future I can make a new connector for a different camera.
There is a the downside to this approach, however. I have to use a dummy battery, since the shutter release is taking up the charging port, but you can get a connector like this one from Sudio1Productions and wire everything into the one connector.

